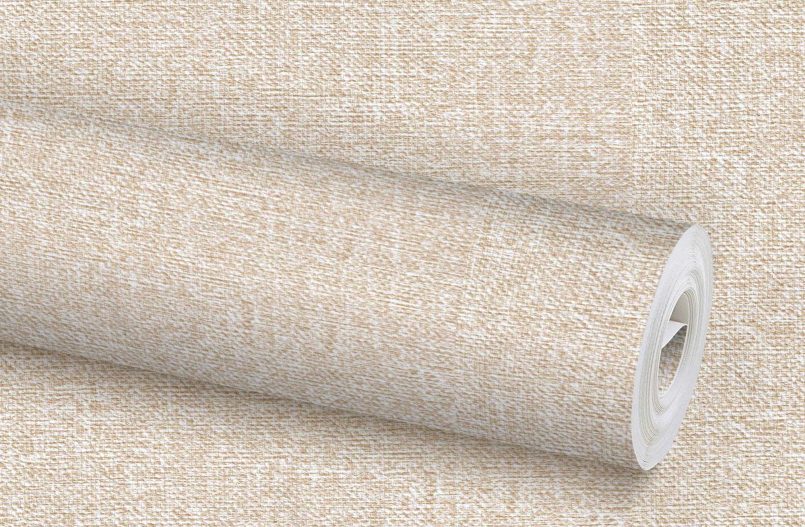
Selecting the appropriate wallpaper is a crucial first step in any interior design project. The vast array of options available can be both exciting and overwhelming. When choosing wallpaper, it is essential to consider the room’s purpose, the desired ambiance, and the existing decor.
For instance, a vibrant floral pattern may be perfect for a cheerful kitchen or a cozy bedroom, while a sleek, geometric design might be more suitable for a modern office space. Additionally, the color palette should harmonize with the furniture and other elements in the room. A well-chosen wallpaper can serve as a focal point or complement the overall aesthetic.
Beyond aesthetics, practical considerations also play a significant role in wallpaper selection. Different types of wallpaper have varying levels of durability, washability, and ease of installation. Vinyl wallpapers are particularly popular for high-traffic areas due to their resilience and ease of cleaning.
On the other hand, fabric-backed wallpapers can add a touch of luxury but may require more maintenance. It is also important to consider the lighting in the room; lighter colors can make a space feel larger and more open, while darker shades can create a cozy, intimate atmosphere. Ultimately, the right wallpaper should reflect personal style while being functional for the intended space.
Key Takeaways
- Choose a wallpaper that complements the room’s decor and is suitable for the wall’s surface
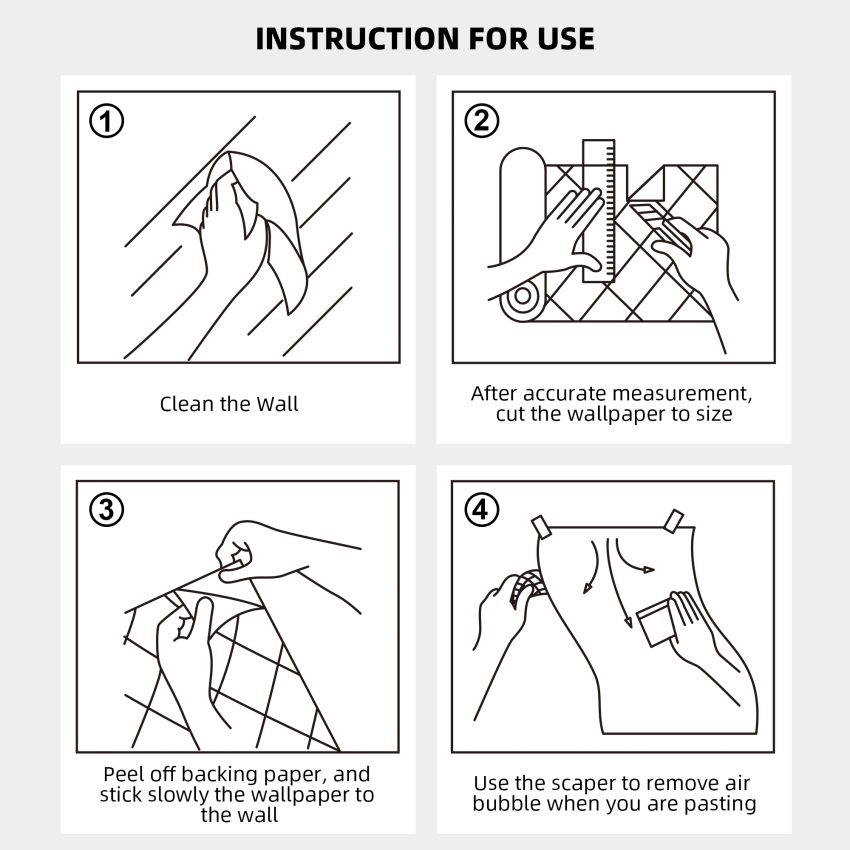
- Prepare the wall surface by cleaning and smoothing it to ensure a smooth application
- Measure and cut the wallpaper carefully to avoid wastage and ensure a perfect fit
- Apply the wallpaper using the appropriate adhesive and technique to avoid air bubbles and wrinkles
- Remove air bubbles by gently smoothing them out with a wallpaper smoother or squeegee
- Trim excess wallpaper along the edges and corners for a clean and polished finish
- Complete the look with finishing touches such as border strips or paint to enhance the overall appearance
- Maintain and care for the wallpaper by regularly dusting or wiping it with a damp cloth to keep it looking fresh and clean
Preparing the Wall Surface
Before applying wallpaper, preparing the wall surface is essential to ensure a smooth and lasting finish. The first step in this process is to remove any existing wallpaper or paint. If the wall has been previously painted, it is crucial to check for any peeling or flaking paint that could interfere with adhesion.
Using a putty knife or wallpaper scraper can help lift old wallpaper or loose paint effectively. Once the surface is clear, it should be thoroughly cleaned to remove dust, grease, or any other contaminants that could affect adhesion. After cleaning, inspect the wall for imperfections such as holes, cracks, or uneven surfaces.
These issues should be addressed before proceeding with wallpaper application. Small holes can be filled with spackling compound, while larger cracks may require a more robust repair solution. Once repairs are made, sanding the surface smooth will help create an even base for the wallpaper.
Finally, applying a primer specifically designed for wallpaper can enhance adhesion and prevent moisture from seeping through the wall. This preparation phase is critical; neglecting it can lead to bubbling, peeling, or other issues down the line.
Measuring and Cutting the Wallpaper
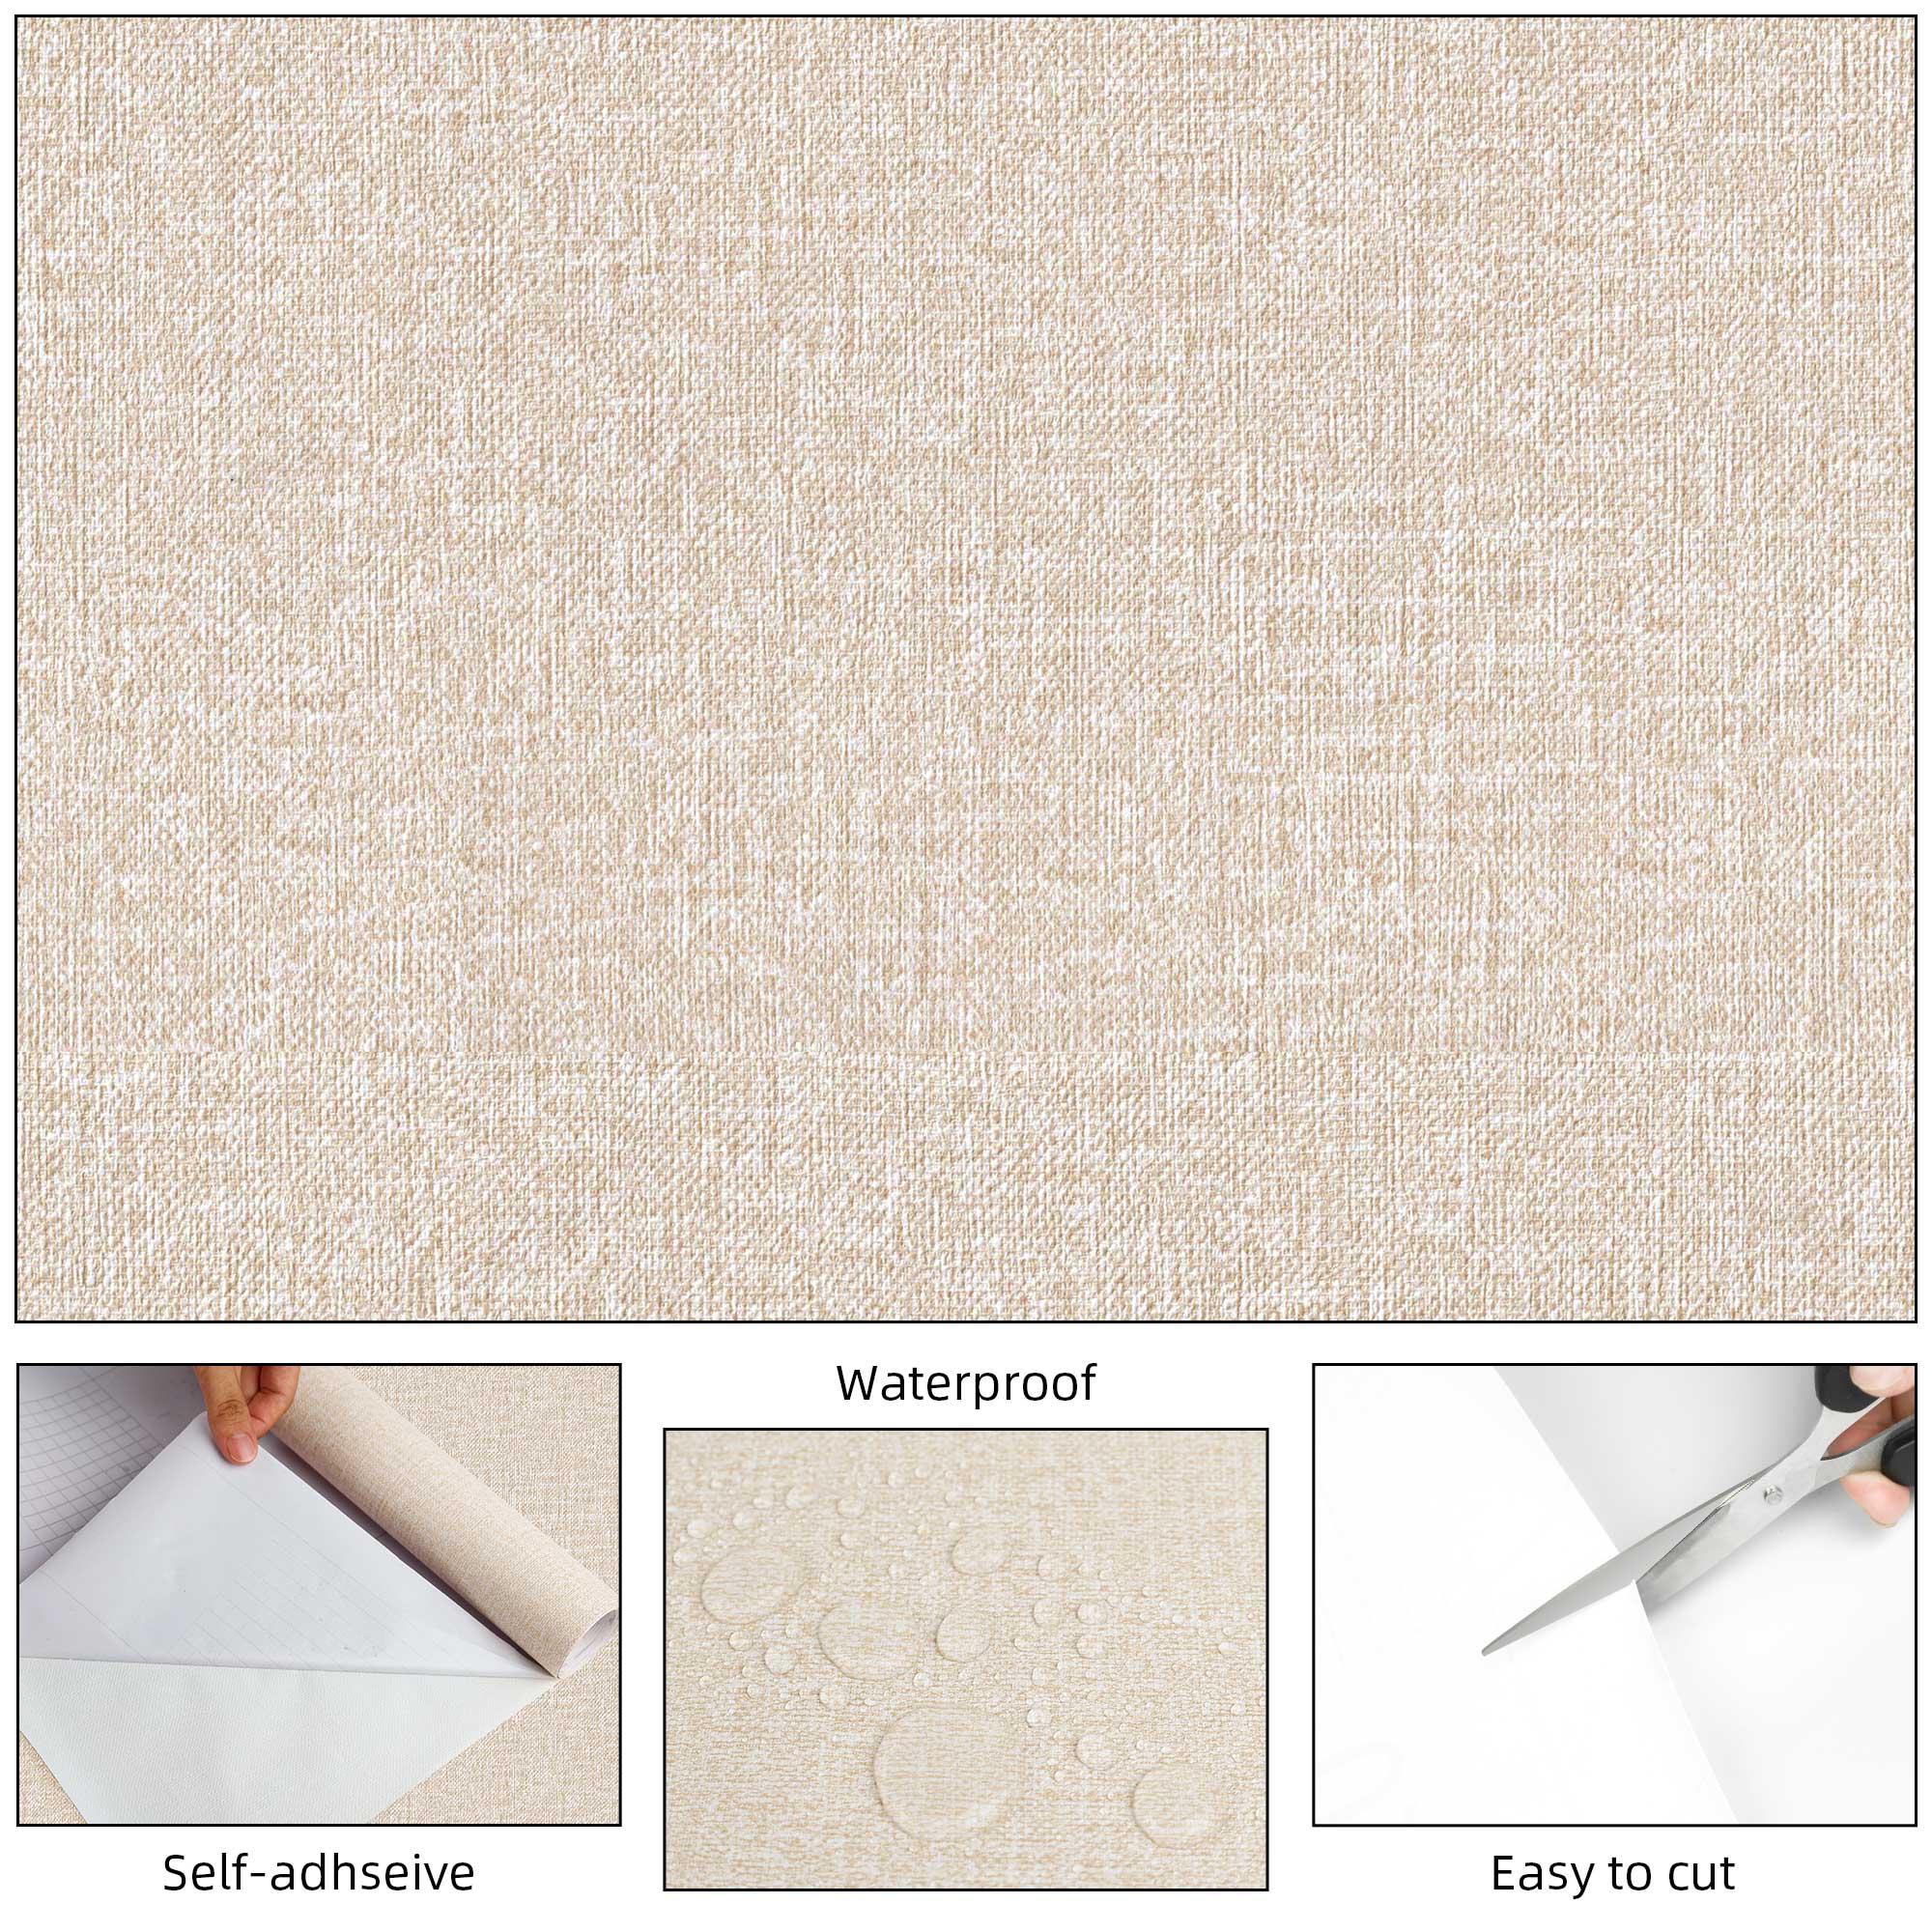
Accurate measurement is vital when it comes to wallpapering a room. Begin by measuring the height of the wall from floor to ceiling and then calculate the total square footage of the area to be covered. It is advisable to add an extra 10% to account for mistakes or miscalculations during cutting.
Once you have determined how much wallpaper you need, lay out your rolls on a flat surface to prepare for cutting. Most wallpapers come in standard widths, typically 21 inches or 27 inches; knowing this will help you plan your cuts effectively. When cutting the wallpaper, use a sharp utility knife or scissors for clean edges.
It is best to cut each strip slightly longer than necessary to allow for adjustments during application. For patterned wallpapers, pay close attention to matching patterns at seams; this may require additional cuts and careful alignment. Marking guidelines on the back of the wallpaper can help ensure that patterns align correctly when applied to the wall.
Taking time during this step will save frustration later on and contribute to a professional-looking finish.
Applying the Wallpaper
With all preparations complete and strips cut to size, it’s time to apply the wallpaper. Start by choosing a reference point on the wall; typically, this is a corner or an area that will be less visible if mistakes occur. Using a plumb line or level ensures that your first strip is perfectly vertical, which is crucial for maintaining alignment throughout the process.
Depending on the type of wallpaper you have chosen—pre-pasted or unpasted—the application method will vary slightly. For pre-pasted wallpaper, activate the adhesive by soaking it in water according to the manufacturer’s instructions before applying it to the wall. For unpasted wallpaper, apply adhesive directly to the wall using a roller or brush.
Carefully position the first strip against the wall, ensuring it aligns with your reference point. Use a smoothing tool or brush to gently press the wallpaper into place, working from the center outwards to eliminate air pockets and ensure good adhesion. Continue this process with subsequent strips, taking care to match patterns and maintain vertical alignment throughout.
Removing Air Bubbles
Air bubbles are one of the most common issues encountered during wallpaper application and can detract from an otherwise flawless finish. To prevent bubbles from forming, it’s essential to apply pressure evenly as you smooth each strip onto the wall. However, if bubbles do appear after application, they can often be remedied with some simple techniques.
Start by gently pushing the bubble towards the nearest edge using a smoothing tool or your fingers; this helps release trapped air. If pushing does not resolve the issue, you may need to puncture the bubble with a small pin or needle to allow air to escape. After puncturing, use your smoothing tool again to press down on the area and flatten it against the wall.
Be cautious not to damage the wallpaper during this process; small punctures are usually unnoticeable once smoothed out properly. In some cases, if bubbles persist despite your efforts, it may indicate that there was insufficient adhesive applied initially or that moisture has affected adhesion.
Trimming Excess Wallpaper
 Once all strips are applied and any air bubbles have been addressed, trimming excess wallpaper is necessary for achieving clean edges and a polished look. Using a sharp utility knife or wallpaper cutter, carefully trim along the top and bottom edges where excess material extends beyond baseboards or ceilings. It’s important to use a straightedge or ruler as a guide for cutting; this ensures that your lines are straight and even.
When trimming around outlets or switches, take extra care to measure accurately before cutting. Marking these areas on the back of the wallpaper will help you make precise cuts without damaging surrounding sections. After trimming, inspect all edges for any remaining loose material; these should be pressed down firmly against the wall to ensure they adhere properly.
A clean finish not only enhances aesthetics but also helps prevent peeling in high-traffic areas.
Finishing Touches
With all major steps completed, it’s time to focus on finishing touches that will elevate your wallpapering project from good to great. One important aspect is ensuring that all seams are properly sealed; this can be done using seam adhesive specifically designed for wallpaper applications. Applying this adhesive along seams helps prevent lifting and creates a seamless appearance that enhances overall design continuity.
Additionally, consider adding decorative elements such as trim or molding around windows and doors to frame your newly wallpapered walls beautifully. Crown molding can add an elegant touch at the ceiling line while baseboards can provide a polished finish at floor level. These details not only enhance visual appeal but also help transition between different surfaces smoothly.
Finally, take a step back and assess your work; minor adjustments can often make a significant difference in achieving a cohesive look.
Maintenance and Care
Once your wallpaper is installed and looking stunning, maintaining its appearance is essential for longevity and durability. Regular cleaning is key; most modern wallpapers can be wiped down with a damp cloth or sponge using mild soap if necessary. However, always check manufacturer guidelines regarding cleaning methods specific to your wallpaper type—some materials may require special care.
In addition to cleaning, it’s wise to monitor for any signs of damage over time. Look out for peeling edges or discoloration caused by moisture exposure or sunlight fading; addressing these issues promptly can prevent further deterioration. If damage occurs, many wallpapers can be repaired by replacing individual strips rather than redoing entire walls—a significant advantage of modern wallpapering techniques.
By following these maintenance tips and caring for your wallpaper properly, you can enjoy its beauty for years to come while keeping your living space looking fresh and inviting.
FAQs
What is peel and stick wallpaper?
Peel and stick wallpaper is a type of self-adhesive wallpaper that can be easily applied to walls without the need for traditional wallpaper paste.
What surfaces can peel and stick wallpaper be applied to?
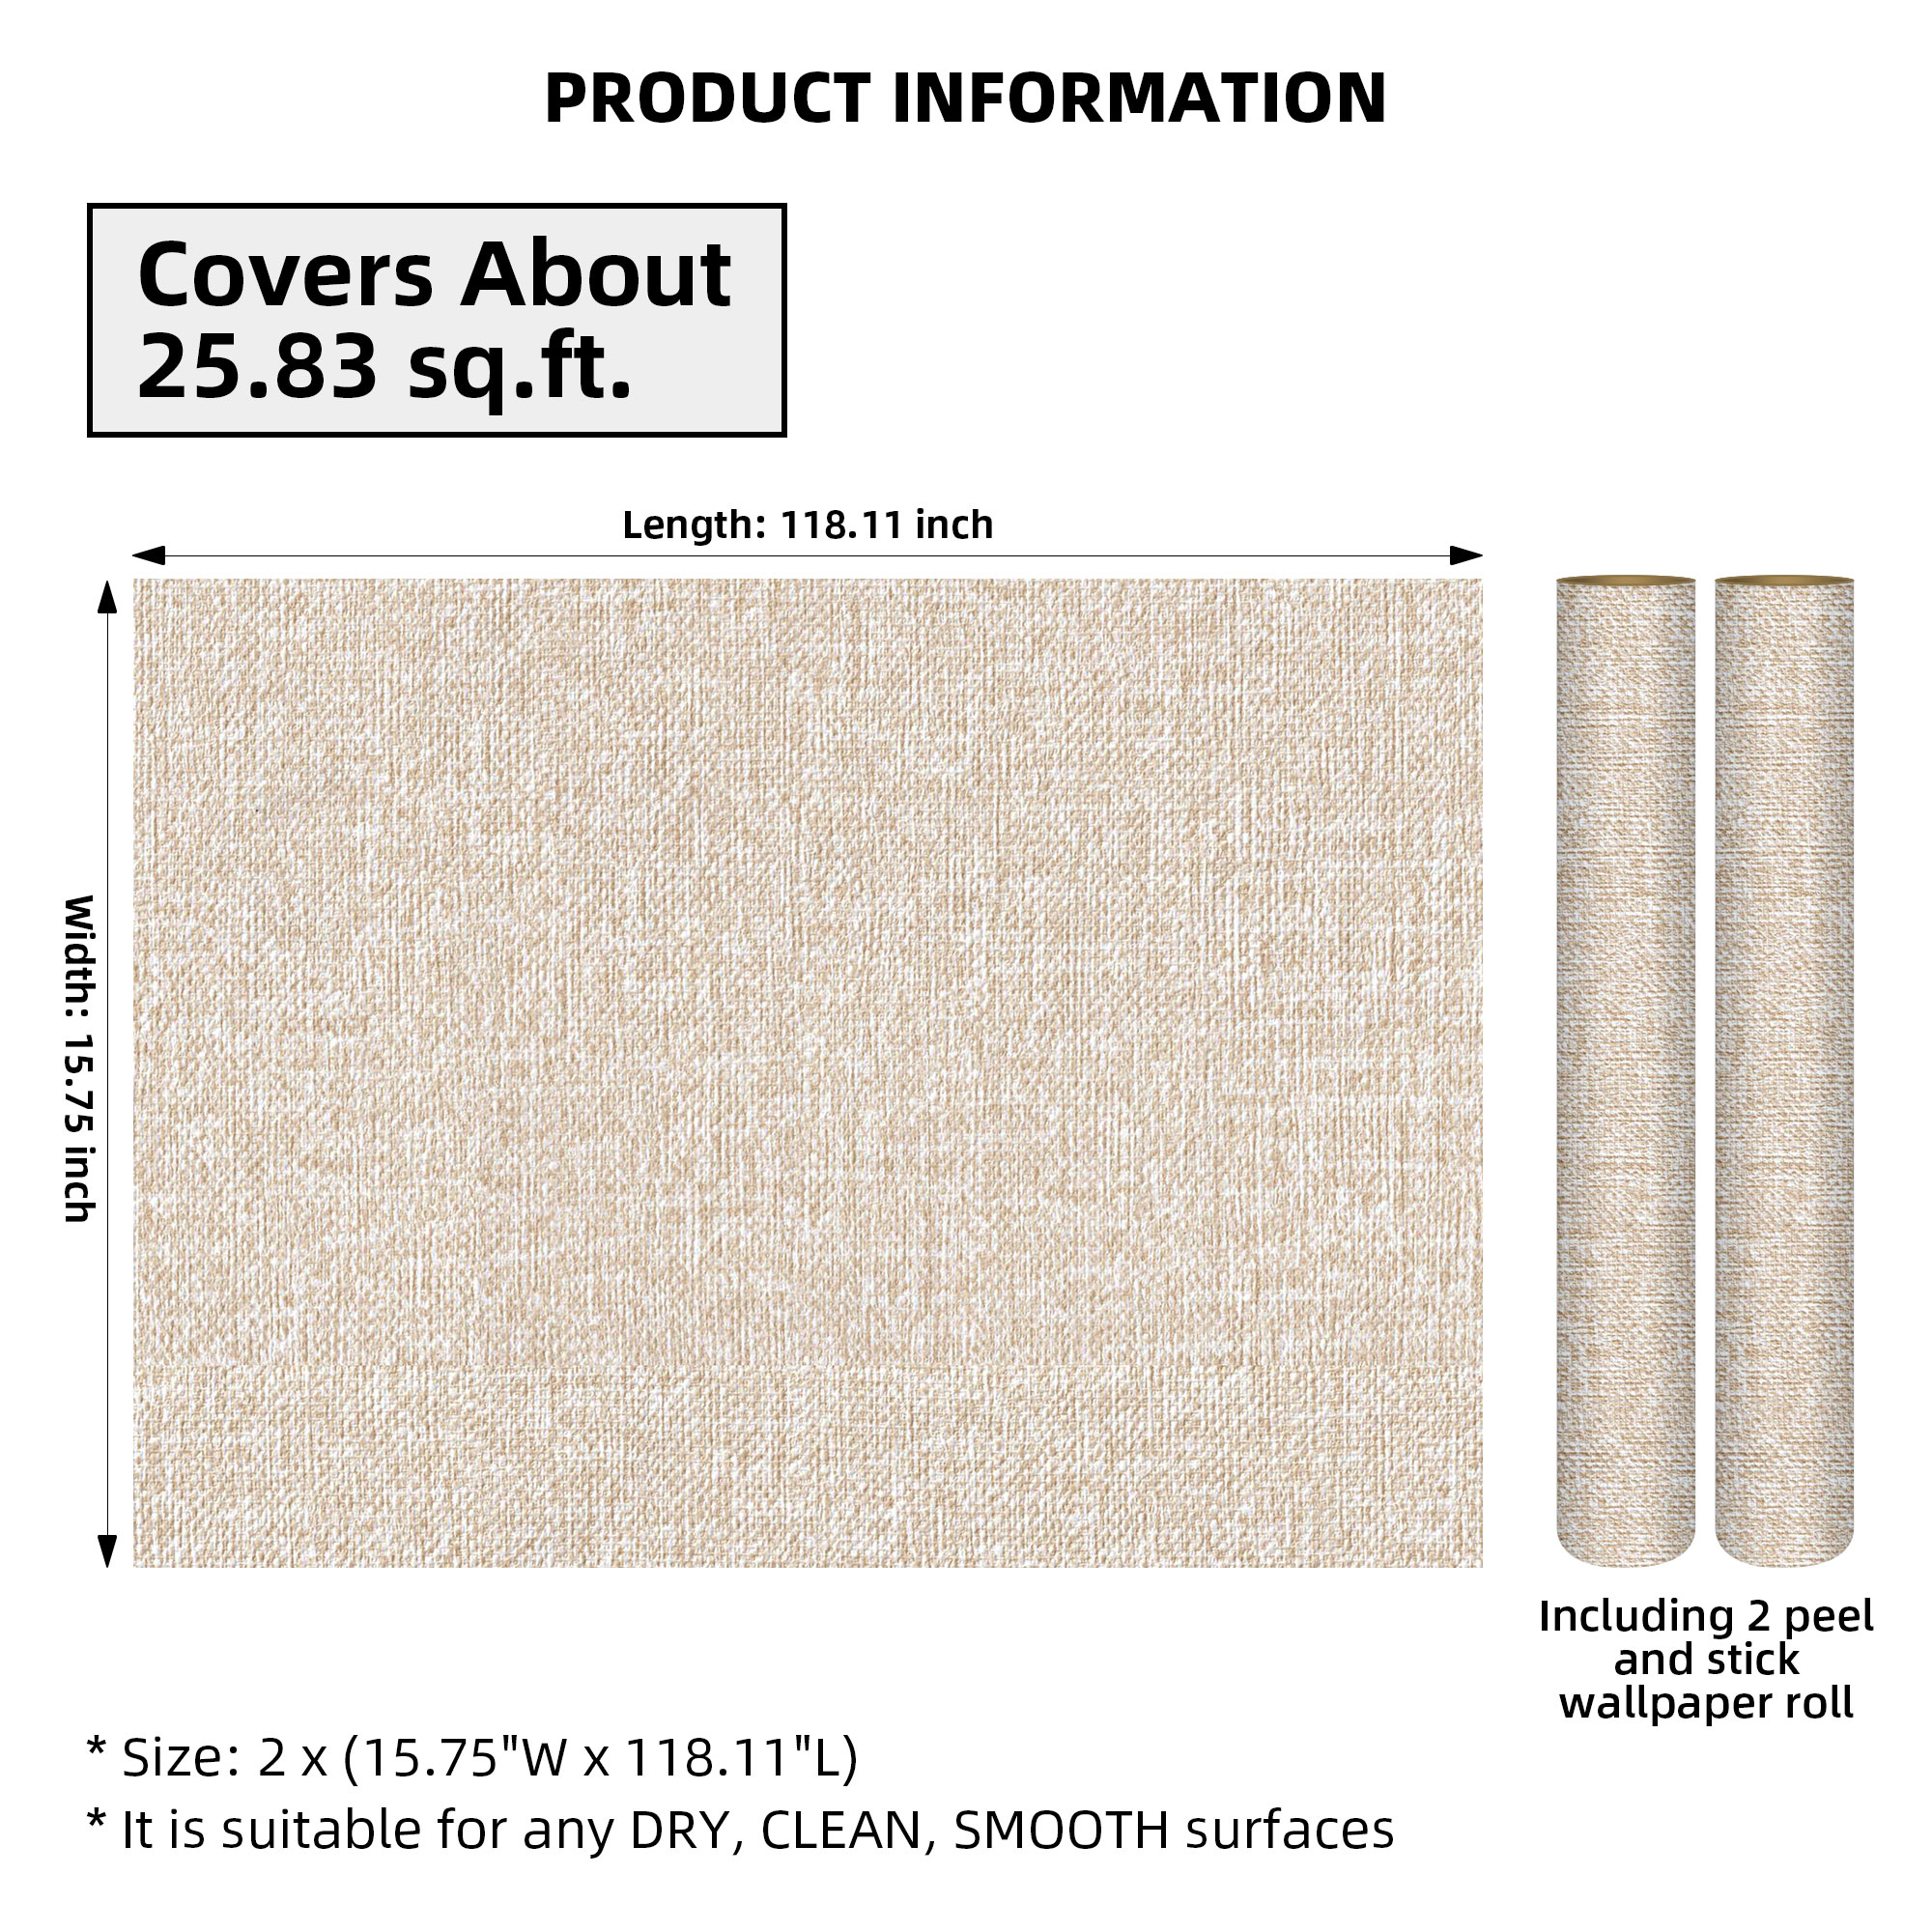
Peel and stick wallpaper can be applied to smooth, clean, and dry surfaces such as painted walls, smooth wood, glass, metal, and plastic.
How do you prepare the wall for peel and stick wallpaper?
Before applying peel and stick wallpaper, it is important to ensure that the wall is clean, smooth, and free of any dust, dirt, or debris. Any imperfections should be filled and sanded, and the wall should be primed if necessary.
How do you install peel and stick wallpaper?
To install peel and stick wallpaper, start by measuring and cutting the wallpaper to the appropriate size. Then, peel off the backing and carefully apply the wallpaper to the wall, smoothing out any air bubbles as you go.
Can peel and stick wallpaper be removed?
Yes, peel and stick wallpaper can be easily removed without causing damage to the wall. Simply peel off the wallpaper from the corner and gently pull it away from the wall. Any adhesive residue can be easily cleaned with soap and water.